|
|
|
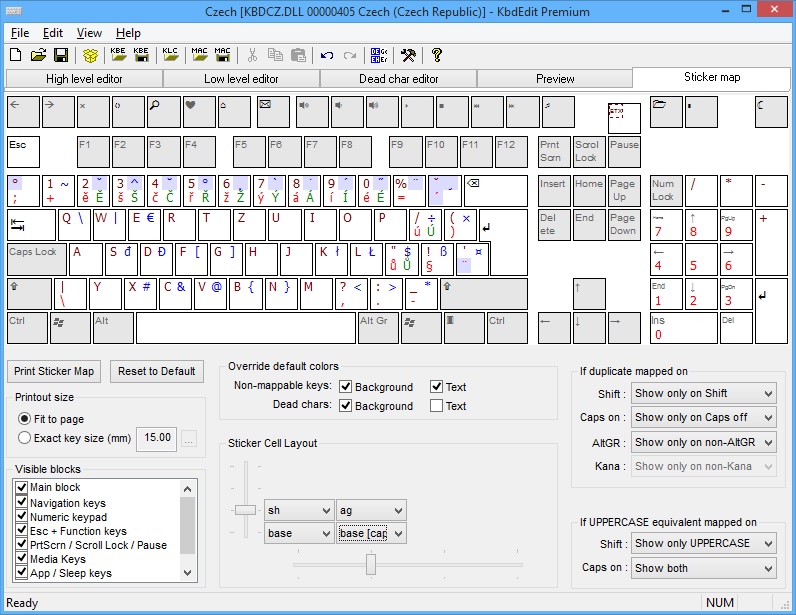
Sticker Map EditorNote: if you are new to KbdEdit, we recommend that you read the Introduction first. If you are interested in learning more about the internal structure of Windows keyboard layouts, Administration and deployment is a great place to start. With complex custom layouts, memorizing the mappings of many modifier positions on many keys can be a challenge. This is where KbdEdit's Sticker Map feature comes to help - it enables the user to generate and print a layout map that neatly displays all characters produced by each key. The map's printout can be kept at hand as a memory aid, or individual stickers can be cut out and pasted on keyboard key caps as a permanent reminder.
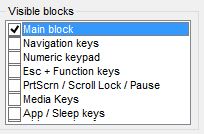
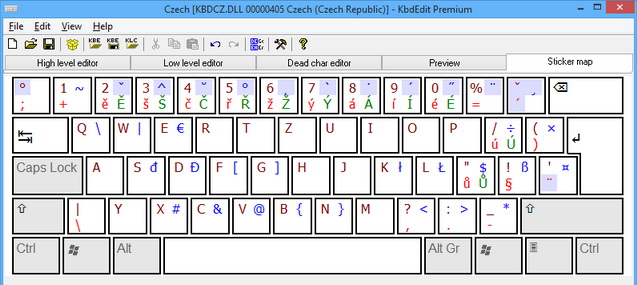
Sticker map customizationWhile it is possible to print out the sticker map using the default settings chosen by KbdEdit, for optimal results - depending on the actual layout - you may need to perform few simple customization steps. Showing/hiding keyboard blocksThe "Visible blocks" checkboxes can be used to turn the sticker display on/off independently for each major group of keys (main block, navigation keys, numeric keypad etc). In the common case where only main block stickers are needed, the remaining keyboard blocks can be suppressed for a neater and more compact display:
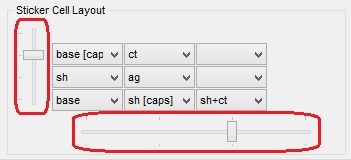
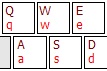
Sticker cell layoutIn order to enable the display of multiple modifier positions, stickers representing character-producing keys are subdivided into a matrix of width x height cells. Each cell is assigned a fixed modifier position to display on all keys, e.g. in the screenshots above Shift position is shown in the upper-left cell of a two-by-two matrix. KbdEdit by default chooses smallest matrix that is still big enough to accommodate all modifier positions in use (active modifier positions as defined in the Low-level editor). These default matrix dimensions can be overridden using vertical and horizontal sliders in the "Sticker Cell Layout" section:
By default, modifier positions are assigned to subsequent cells in bottom-to-top, left-to-right order. The resulting automatic ordering may not produce the most intuitive result, but you can override it using the "Sticker Cell Layout" combo boxes, which allow you to place any modifier position onto any cell.
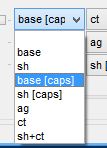
If any of the keys on the layout use separate mapping for Caps Lock, the combo will provide two additional positions base [caps] and sh [caps], representing "Caps On" mappings for Base and Shift positions. If you don't want to show any modifier position in a particular cell, simply choose the empty line from the corresponding combo. While rearranging modifier positions, keep these helpful hints in mind:
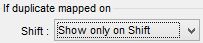
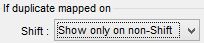
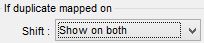
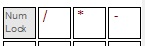
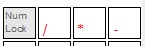
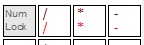
Handling duplicates / uppercase equivalentsFor many keys, characters mapped to different modifier positions are related in a way that, if you know what's mapped on a base position, it is easy to guess the mapping of shifted state(s). For such keys, displaying the easy-to-guess characters does not relay any useful information. To reduce visual clutter, KbdEdit by default hides the unneeded characters whenever possible. You will probably be happy with this behavior, but you can still step in and override it if you wish so. One class of redundant characters are duplicates - same character can be mapped on multiple modifier positions of a key. An example would be arithmetic operators / * + - on numeric keypad, which have the same character mapped to both Base and Shift positions. The "If duplicate mapped on" group of combo boxes defines how the duplicate characters are displayed. For duplicates mapped on Shift positions, the "Shift :" combo box lets you choose which modifier position(s) will be displayed/hidden:
You can see the effect of each of the three values in the screen-shots below:
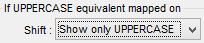
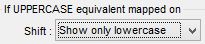
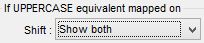
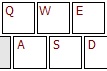
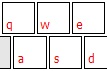
It is less common, but still possible, for a duplicate to appear on a "Caps on" (or "AltGR" or "Kana") equivalent of a modifier position. . Combo boxes "Caps on :", "AltGR :" and "Kana :" define how these duplicates are handled. They offer the same three settings as the "Shift :" combo, however unlike Shift their default value is to show the character only on the "unshifted" (i.e. Caps off / no AltGR / no Kana) position. Note that "Caps on :" combo is enabled only if the layout has at least one key with separate mapping for Caps Lock. Likewise, "AltGR :" and "Kana :" are available only if the layout uses these modifier keys. Another class of redundant characters are uper-/lower-case equivalents. A letter-producing key typically has a lowercase letter mapped on a non-Shift position and an uppercase equivalent on the equivalent Shift position. For keys that use separate mapping for Caps Lock, it is also common to have an uppercase letter mapped to the Caps on state. The display of upper-/lower-case equivalents is controlled through the "If UPPERCASE equivalent mapped on" group of combo boxes. Like in the case of duplicates, if an uppercase equivalent is detected on a shifted position, you are given the choice of:
The screen-shots show the effect of each of the three values:
Since placing uppercase equivalents on a Caps on position produces a slightly counter-intuitive effect, default setting for this position is "Show both". This makes it obvious that the key does not follow the usual "uppercase on Shift" behavior. Note that uppercase combos do not exist for AltGR and Kana since these modifier keys are not meant to be used for upper-/lower-case switching. Customizing colorsStickers for mappable keys are drawn on a white background with each modifier position shown in a fixed text color (e.g. Base - red, Shift - dark red, AltGr - blue, Shift+AltGR - dark blue etc). These colors are currently not customizable. However for non-mappable keys and dead key mappings you have a slight degree of control over the choice of colors - this is the purpose of the "Override default colors" group of check boxes.
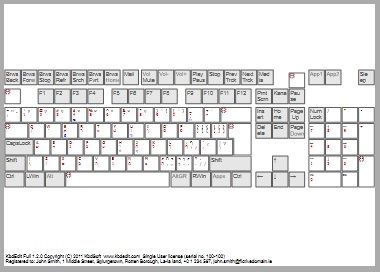
By default, non-mappable keys use distinct grey background and a slightly paler text color, which distinguishes them visually from the character-producing keys. You can revert to using the default white background by unticking the "Background" check box. Likewise, unticking "Text" reverts to the default black text color. Dead char mappings are also made to stand out visually by drawing them with a grey background. Note that only the cell holding the dead character is shown as grayed - remaining modifier positions on the same keys are unaffected. Unticking the "Dead chars: Background" check box will revert the dead char background to default white. The "Dead chars: Text" check box is by default unticked, meaning that dead characters will use text color of the modifier position they are mapped on (Base - red, Shift - dark red etc). If you tick this check box, dead characters will be drawn in blue regardless of the modifier position. Resetting Sticker Map to defaultIf you have gone too far in your sticker map customizations, and need to go back to a well-defined starting point, you can use the "Reset to Default" button to reset the sticker map settings to the defaults. Resetting affects only customizations made in the Sticker Map view. Changes made in other KbdEdit views (High-level, Low-level etc) will remain intact. Sticker Map printingKbdEdit supports two types of sticker map printouts - "fit to page" and "exact key size". The type is chosen through the "Printout size" radio buttons. Fitting Sticker Map printout to page"Fit to page" mode is intended for printouts that will not be cut into individual stickers. The map dimensions are scaled up or down to ensure that it fits on the entire printable area. The printout will thus consist of exactly one page:
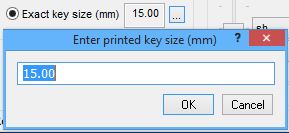
. Setting exact keycap size in milimitersVarious keyboard models have widely varying key cap sizes, especially those found on laptops and netbooks. If the printout is meant to be cut into individual key cap stickers, it is important to have precise control over the size of individual keycap stickers, which is the main purpose of the "Exact key size" mode. If the "Exact key size (mm)" radio is ticked, the key cap size in millimeters can be entered by clicking the "..." button:
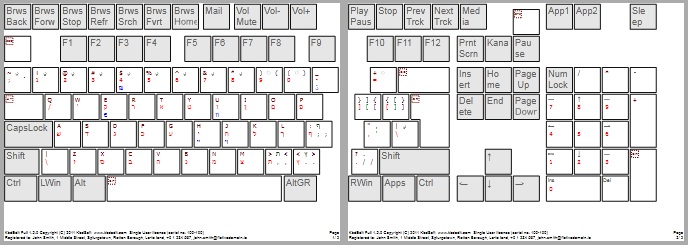
The size entered represents the key cap height of a normal-sized letter-producing key, e.g. the "Q" key on the physical keyboard. All other dimensions of all the keys are scaled up/down to guarantee the desired size. Depending on the key size chosen and the printer paper size, the printout in this mode may not fit entirely on one page. In that case, the map will be printed across multiple pages, like in this example:
Note that, even though the map as a whole is broken across multiple pages, each key cap sticker still remains completely on one page. Printing the Sticker MapWhen you've finished customizing the sticker map, you can print it out by clicking the "Print Sticker Map" button. This brings up the standard Print dialog, where you can choose the printer, fine-tune printing properties (paper size and orientation, margins etc), choose number of copies, and finally print the sticker map by clicking "Ok":
Note that paper orientation is set to "landscape" by default for optimal utilization of the printable area, but you can override it through the "Properties..." button. |
|
Copyright © KbdSoft 2007-2026 |